Quickstart Guide
Welcome to the Quickstart Guide for StarterAppKit! Follow these steps to get your project up and running quickly.
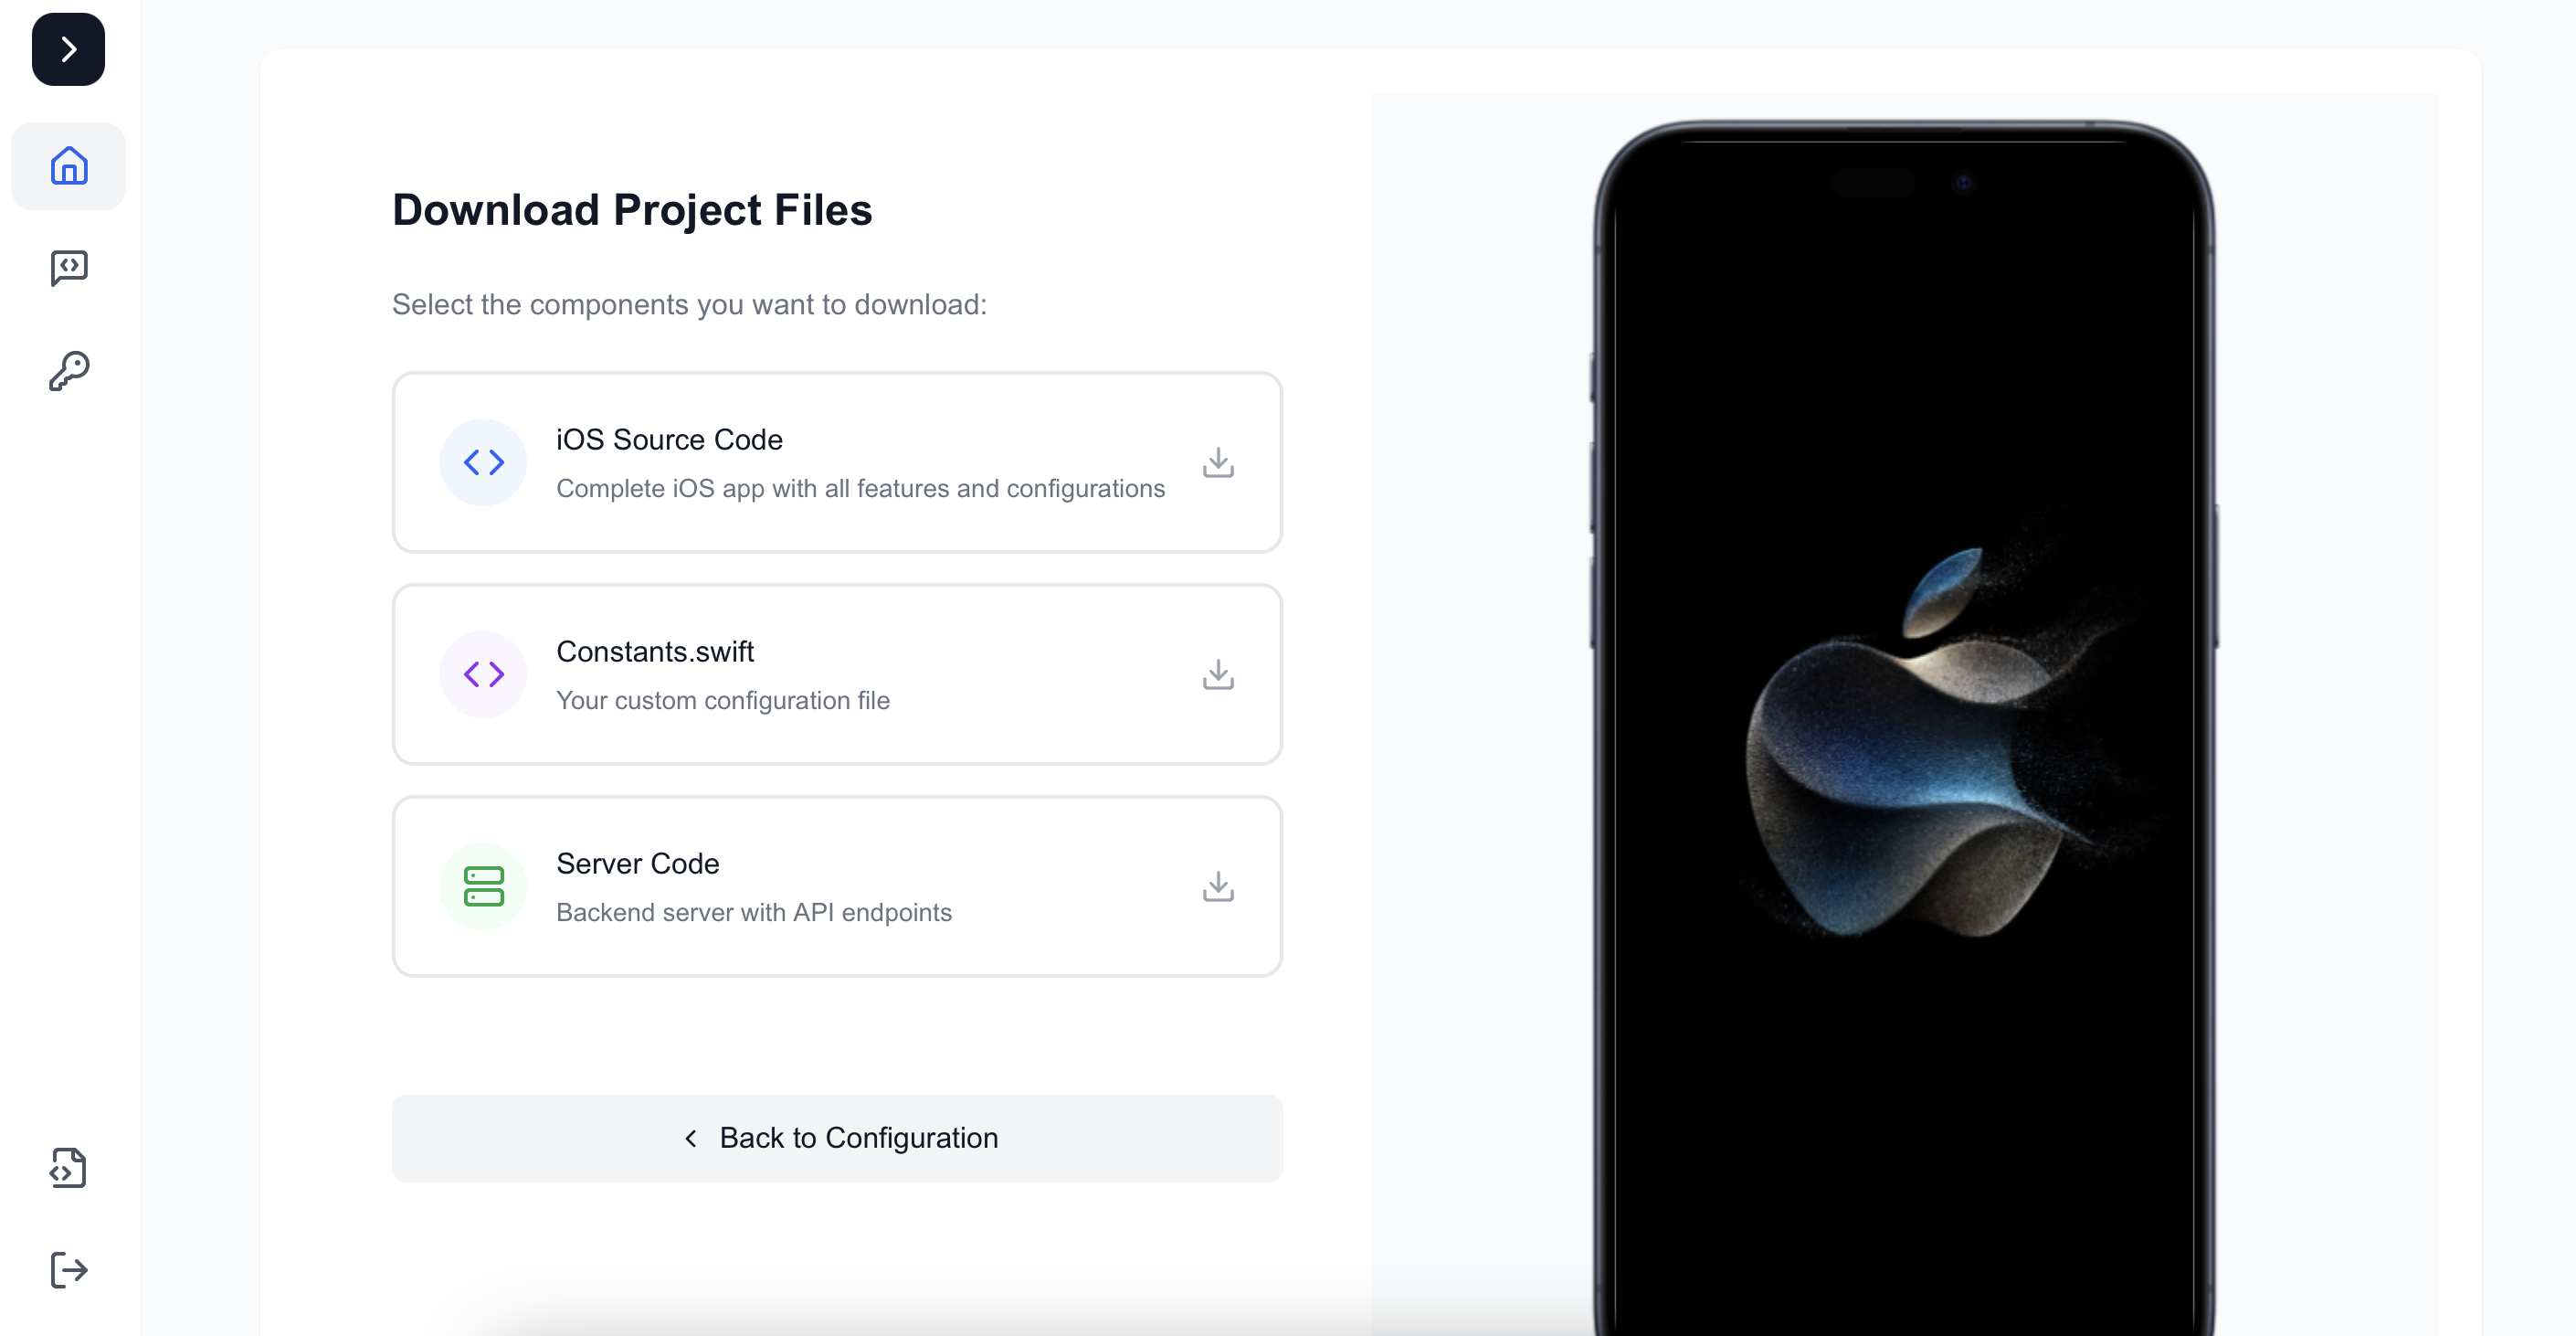
Step 1: Download the Source Code

- Log in to your StarterAppKit account.
- Navigate to the Dashboard at
/app. - Complete the setup steps provided on the dashboard.
- At the end of the steps, download the following files:
- iOS App Source Code
- Backend (Server) Source Code
- Constants.swift file (contains configuration for the entire application).
Step 2: Install Prerequisites
Ensure you have the following software installed on your system:
- Xcode 15 or later Download and install from Xcodereleases
- Node.js 18+
Install using Node.js official site. - MySQL 8.0+
Download and install from MySQL official site. - Git
Verify installation by running:
git --version
Step 3: Set Up the iOS App
- Extract the downloaded iOS App Source Code.
- Open the project in Xcode:
- Use the command
open StarterAppKit.xcodeprojor open the file manually in Finder.
- Use the command
Configure your Bundle Identifier:

- Go to
Signing & Capabilitiesin Xcode. - Replace the default bundle identifier with your own (e.g.,
com.yourcompany.app). - Do the same for
OneSignalNotificationServiceExtension(e.g.,com.yourcompany.app.OneSignalNotificationServiceExtension)
Note: If you have a bundle identifier mismatch, the app will fail to build
Add the downloaded Constants.swift file to the project:
- Place it in the root directory of your iOS project.
- Ensure it is included in your app's target.
Run the project in the simulator or on a physical device:
- Select a target device from the dropdown.
- Press Cmd+R to build and run.
Step 4: Set Up the Backend
- Extract the downloaded Backend Source Code.
- Navigate to the backend folder:
- Use the command
cd backend.
- Use the command
- Install the required dependencies:
- Run
npm installto install all required packages.
- Run
- Set up the environment variables:
- Duplicate the
.env.examplefile and rename it.env:- Use the command
cp .env.example .env.
- Use the command
- Update the
.envfile with your database and API credentials.
- Duplicate the
For information on how to find the values / API Credentials for your .env file, take a look at the Third Party Integrations page.
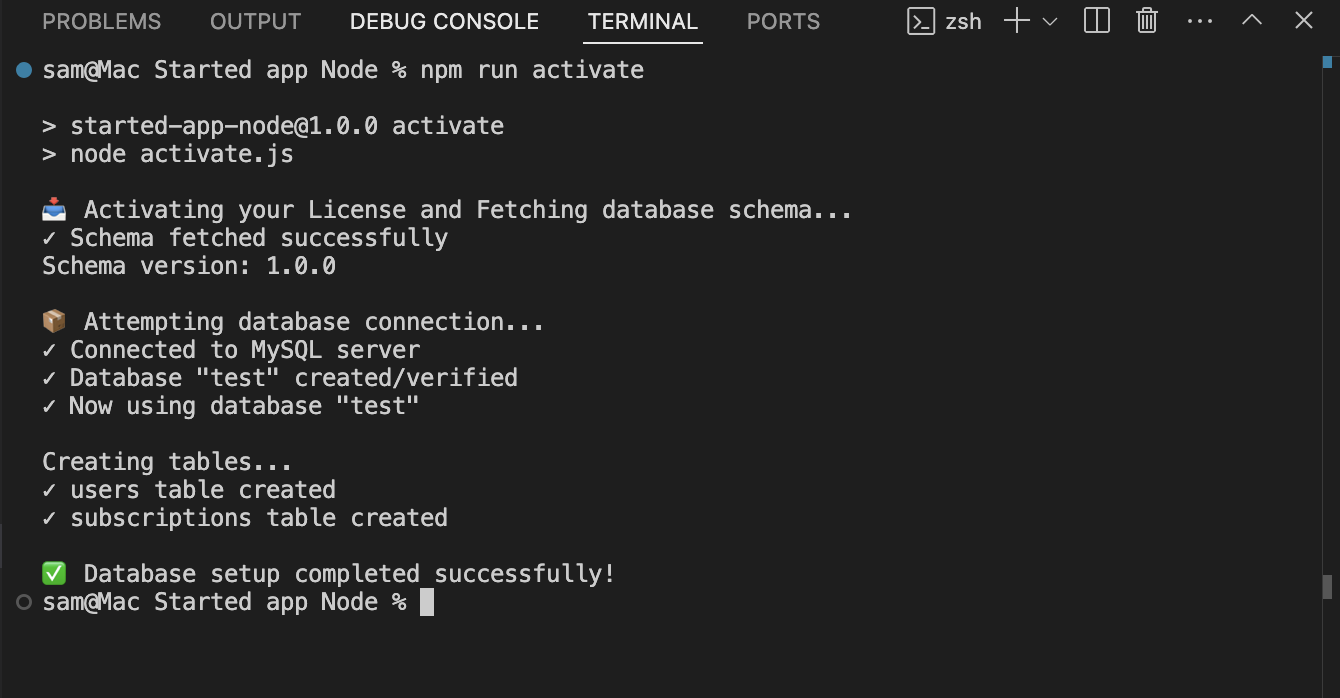
- Activate your license and install the database:
- Once your
.envfile is completely filled out, run thenpm run activatecommand to activate your license and setup your database. - If the license is successfully verified, it will automatically set up your database and you should see a success message in the terminal.
- Once your

- Start the server:
- Use
npm startto launch the backend. - The backend will be available at
http://localhost:3000.
- Use
Step 5: Connect the App to the Backend

- Open the
Constants.swiftfile in the iOS project. - Update the base URL to match your backend server:
- Replace the placeholder with your server's URL, e.g.,
static let baseurl = "http://localhost:3000".
- Replace the placeholder with your server's URL, e.g.,
Note: iOS apps require HTTPS by default. For development, you can either: 1) Use a tunneling service like ngrok to expose your localhost over HTTPS, or 2) Configure App Transport Security (ATS) settings in Info.plist to allow arbitrary loads. The second option should only be used during development.
Step 6: Test the Application
- Launch the app on the simulator or device.
- Sign up or log in to verify the authentication flow.
- Test the backend integration by creating sample data or making API requests.
Step 7: Customize and Extend
Now that your app is running, you can:
- Customize the UI: Modify reusable components or theme settings.
- Add Features: Extend the backend with new API endpoints and integrate them into the app.
- Deploy: Use tools like Heroku, Vercel, or AWS to deploy your backend to production.